Support
Get help with your Pinlights products or reach out to our team.
Finding Connections for your Game
Pinlights can work on almost any machine. At the end of the day, the kit works by detecting voltage between 5V and 48V. There are two connections that kits need: GI (general illumination) for turning on the “white” light, and flashers for activating the bright UV purple flashers.
This document breaks down the process of finding places to tap into.
Double check your wiring.
Before powering the game back on, verify your connections and make sure there are no short circuits.
Finding GI connections on Stern / Williams / Bally machines
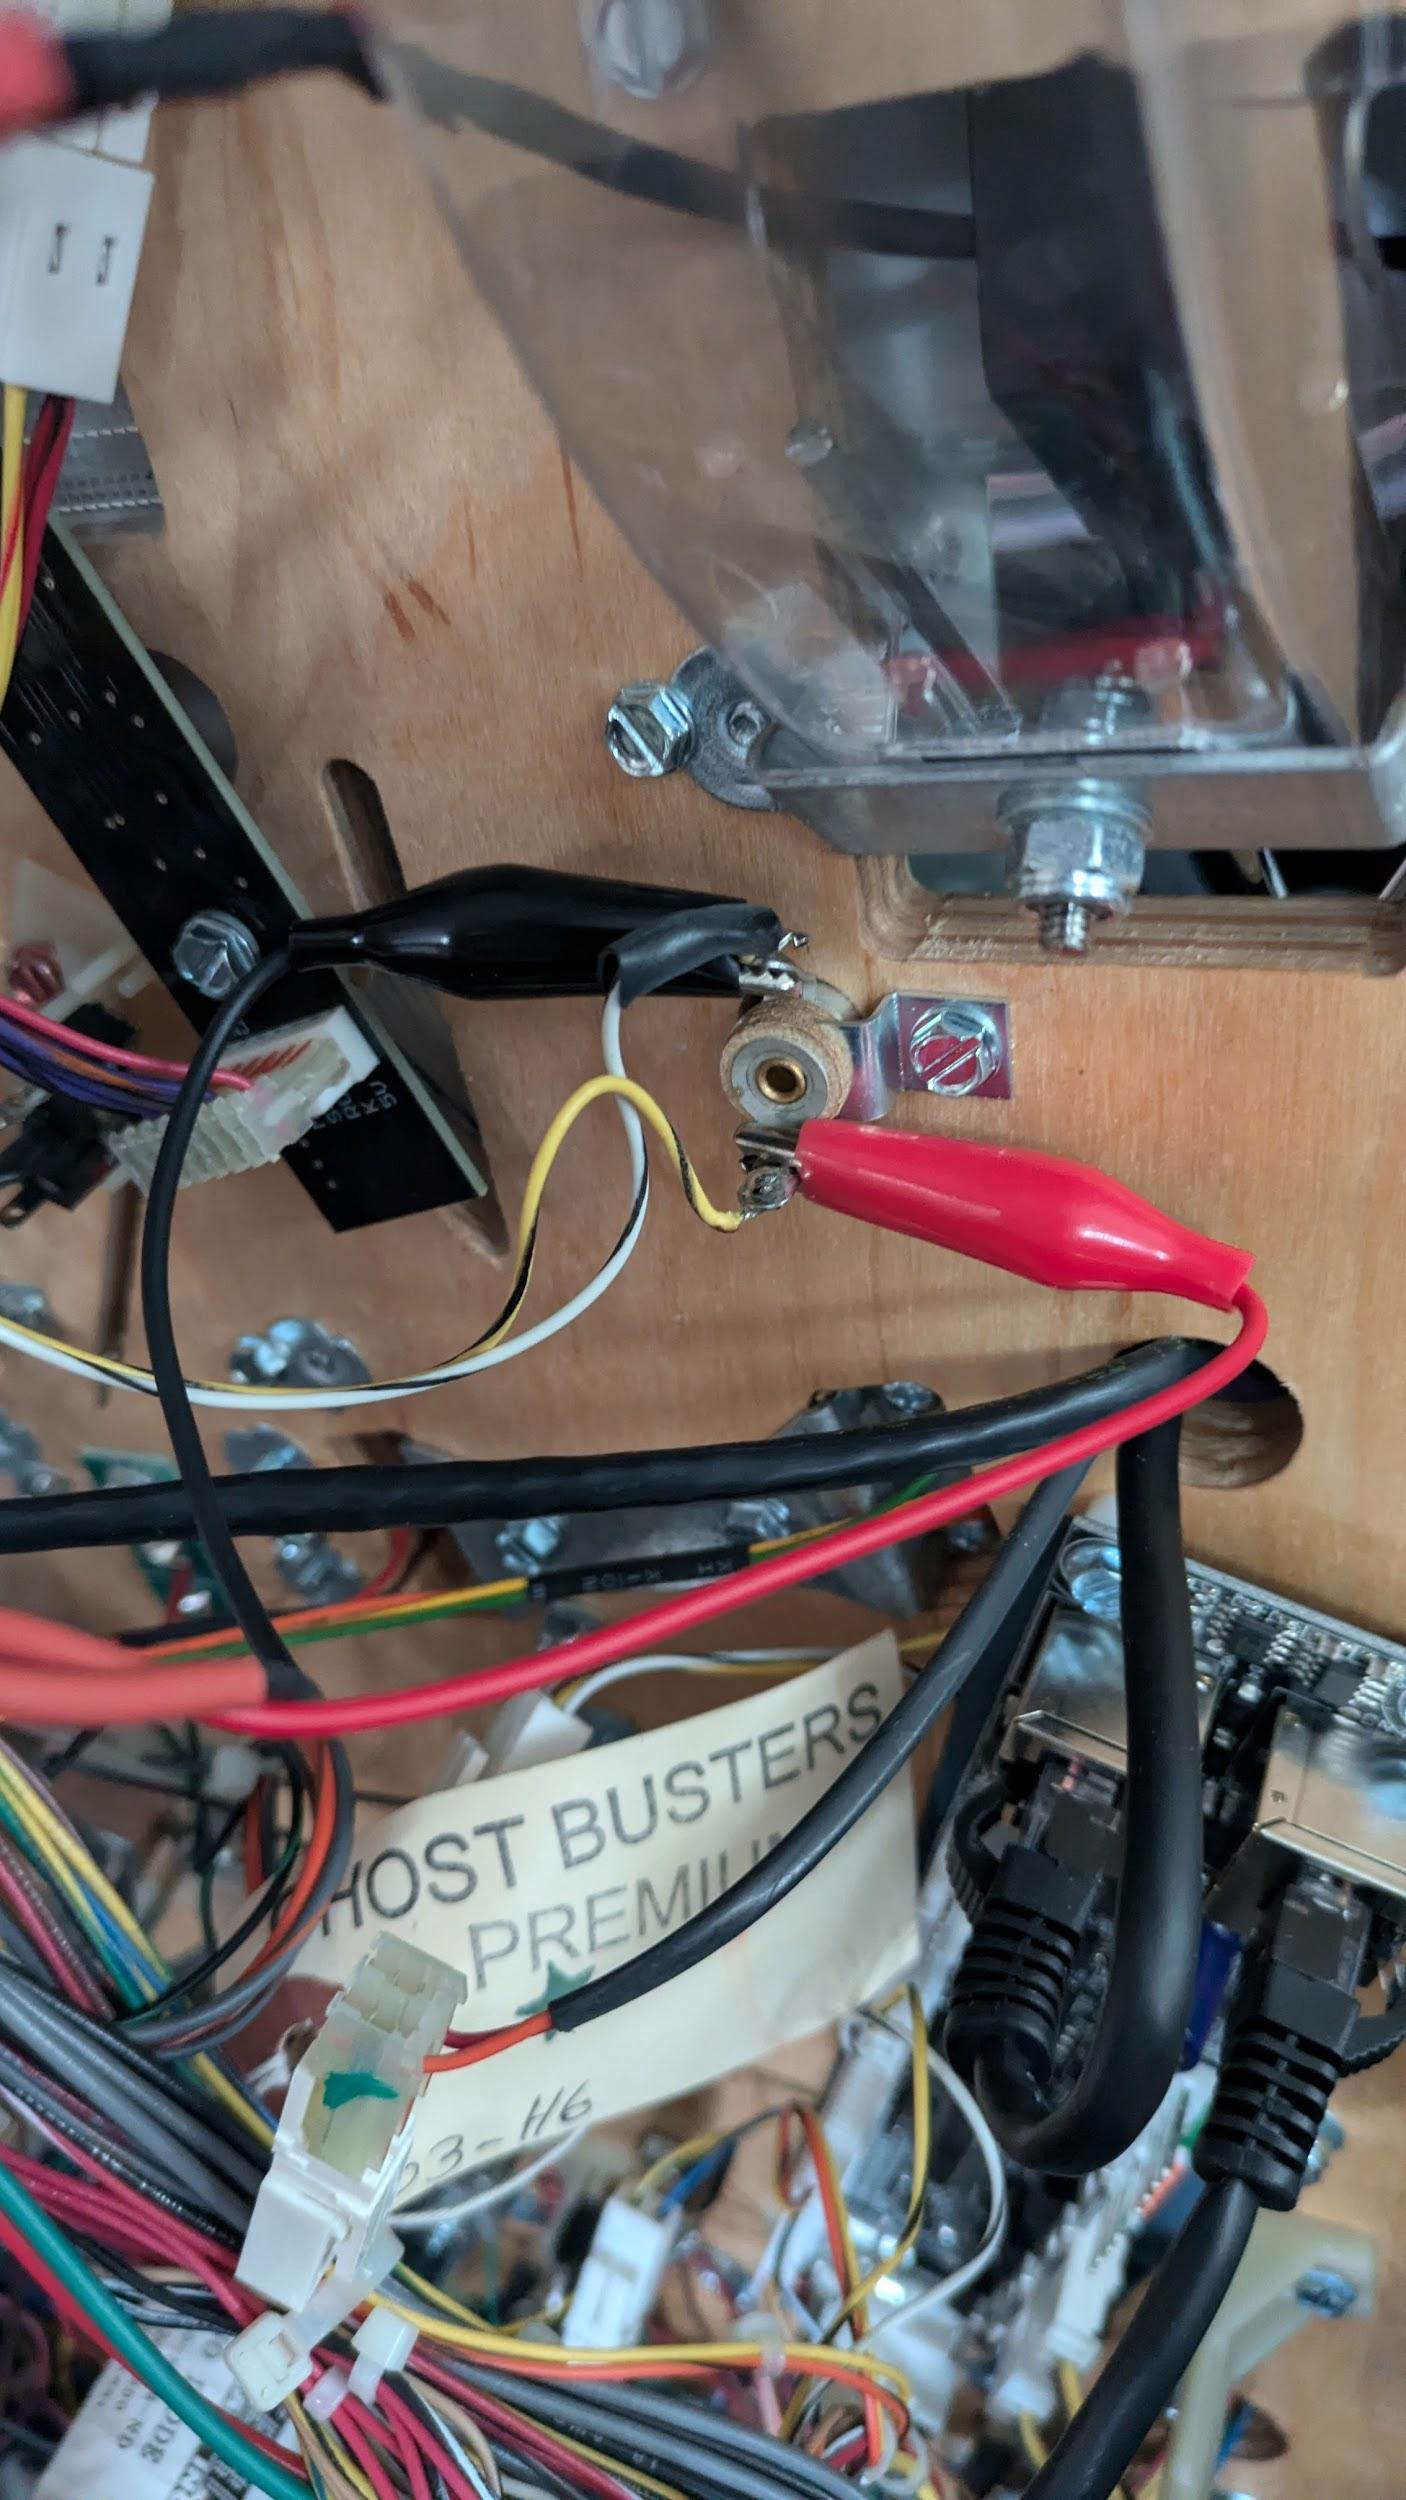
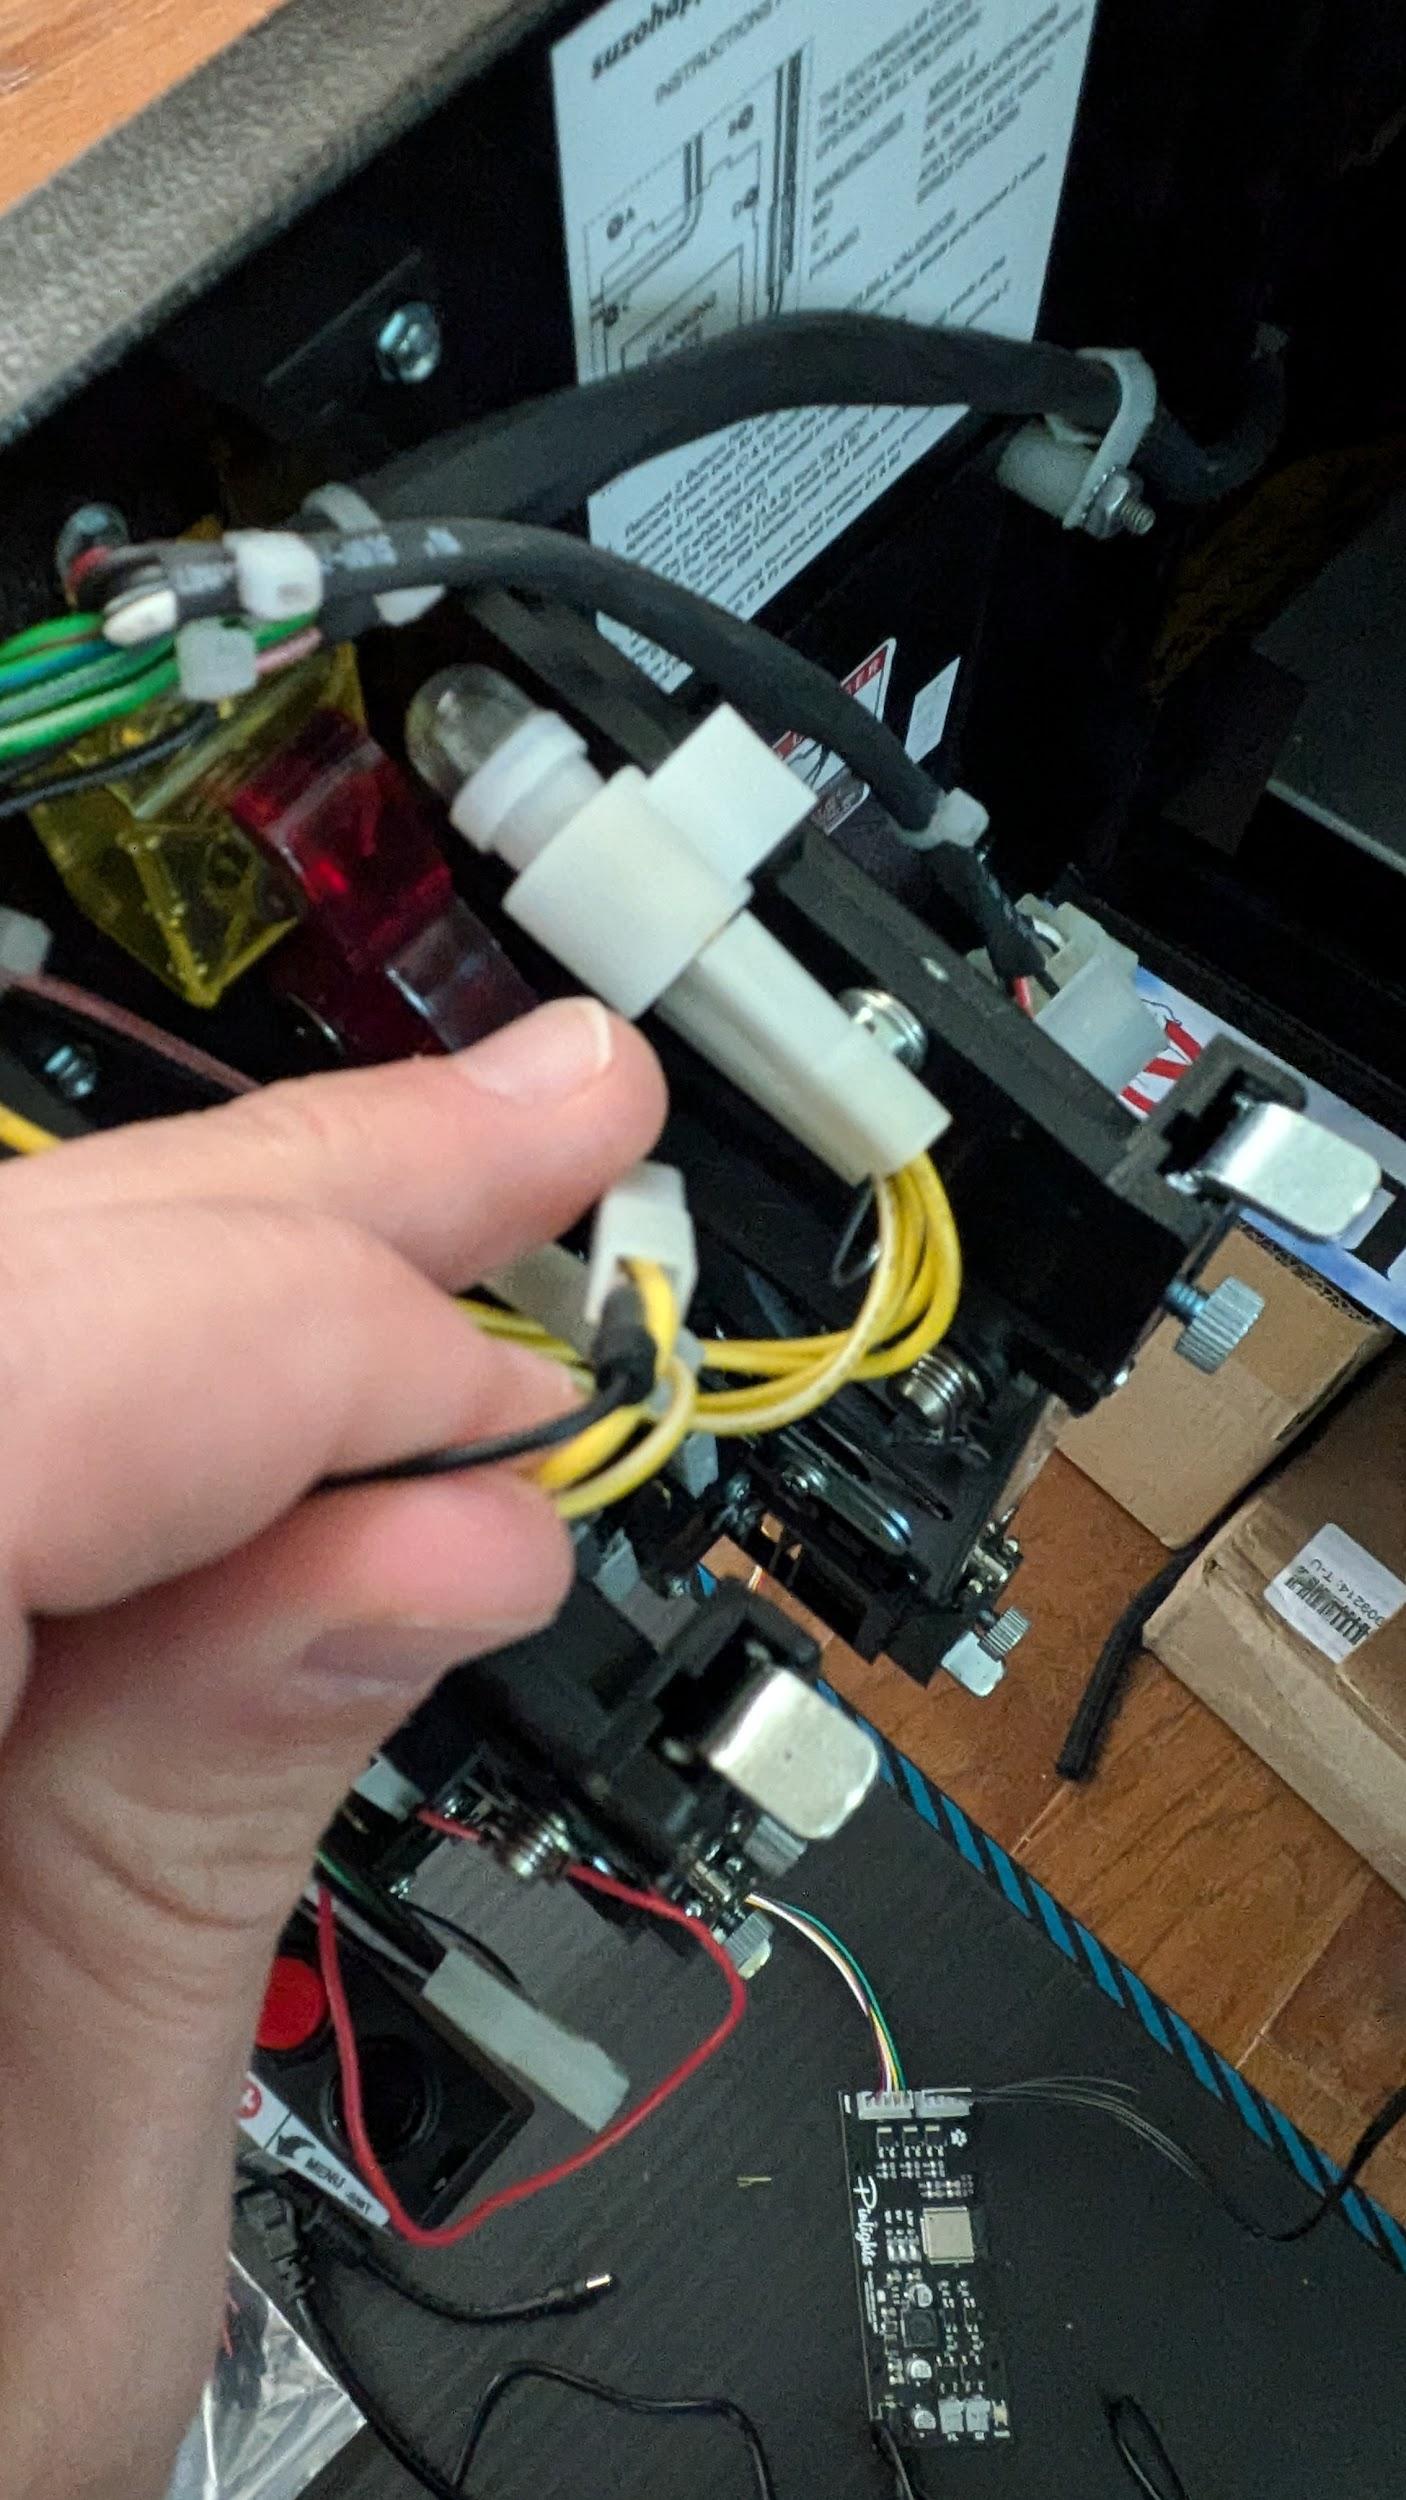
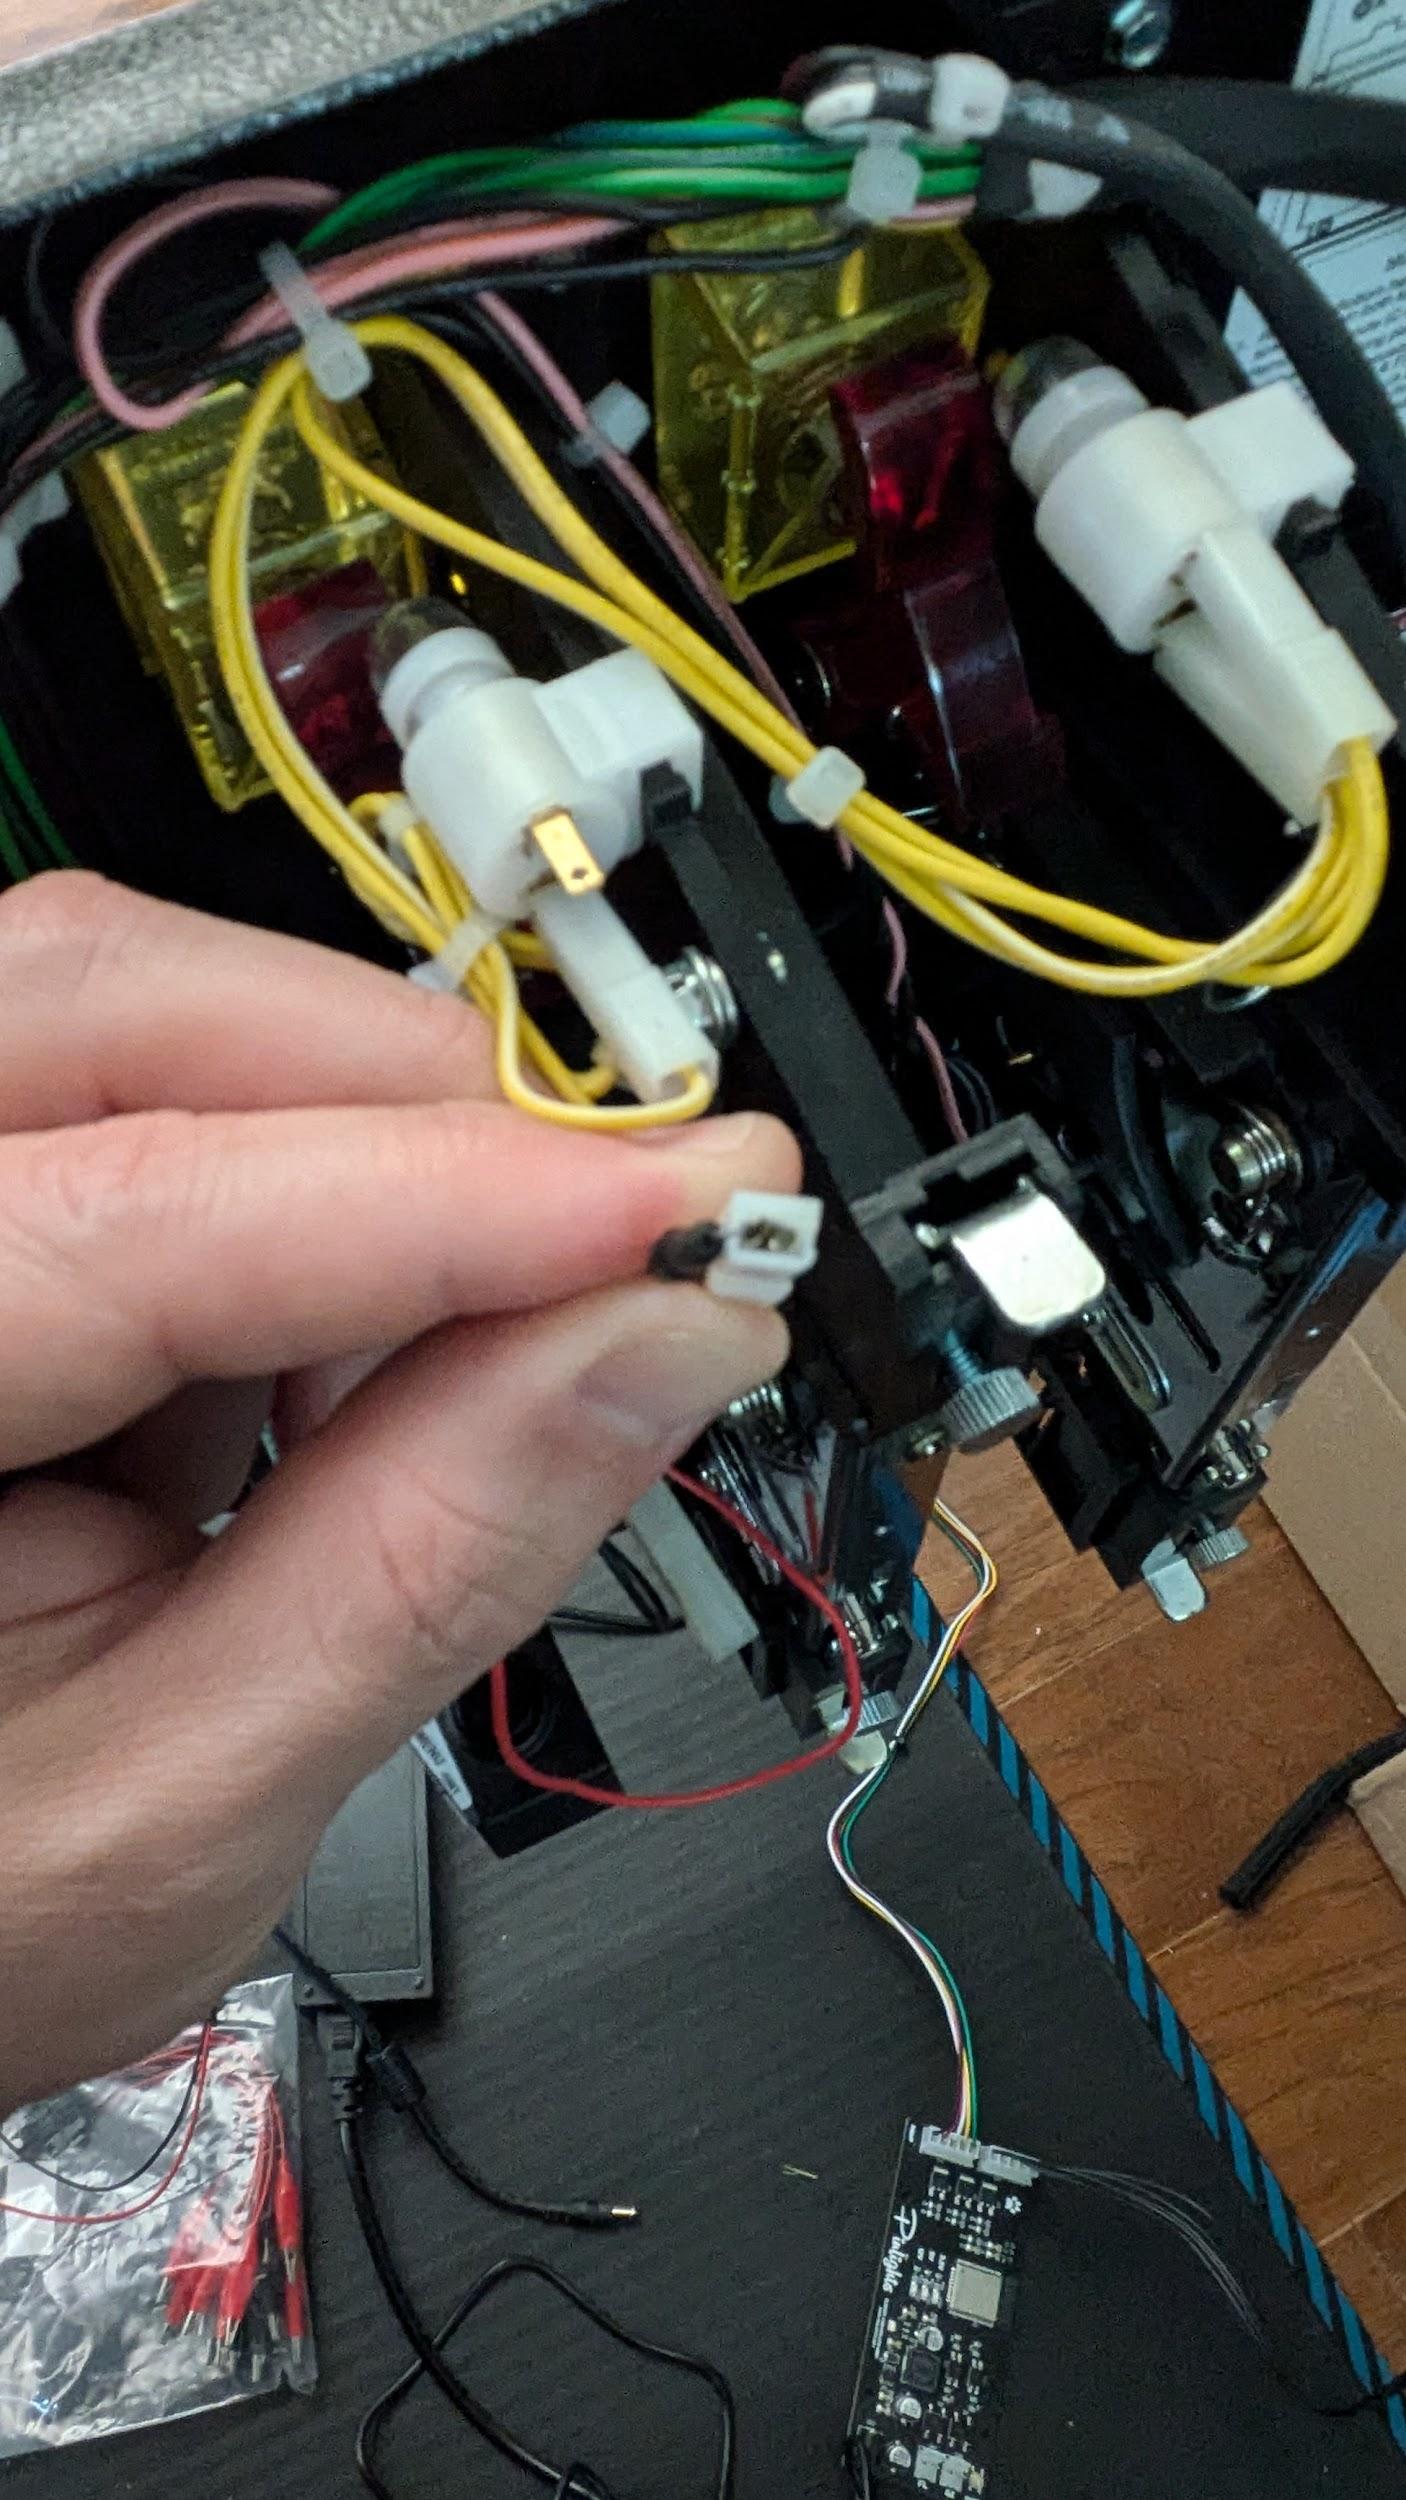
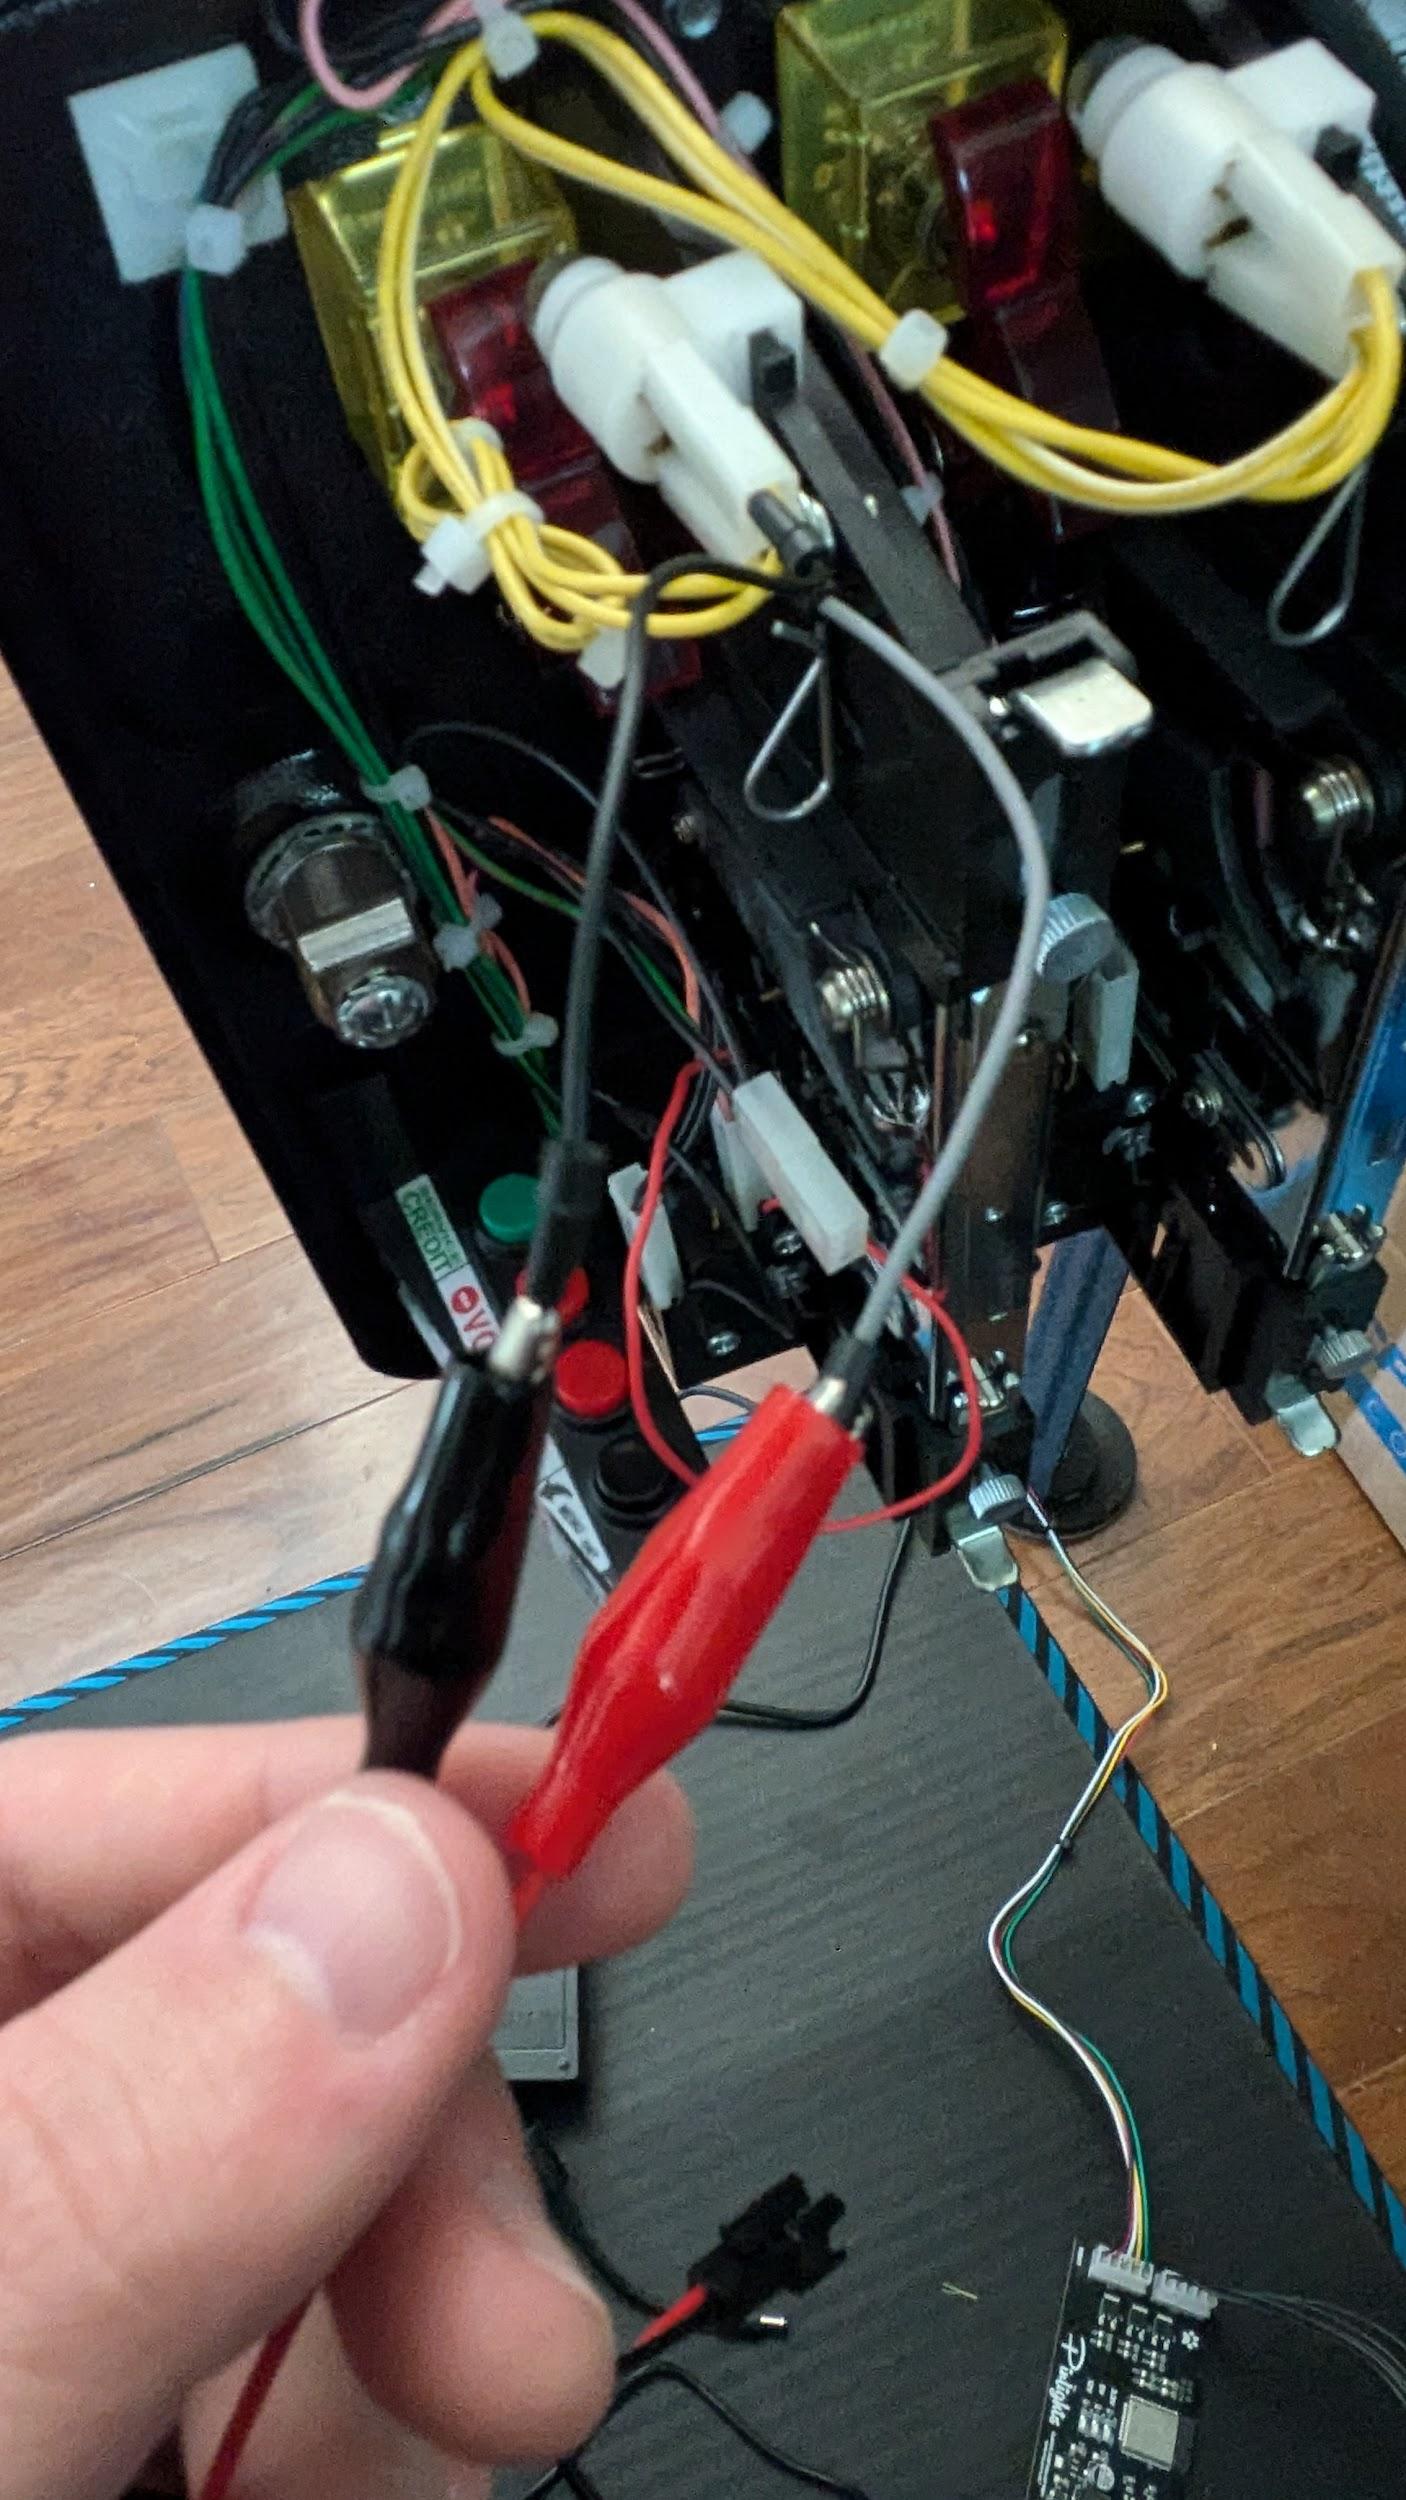
Use one of the included alligator clip cables to clip onto a round bayonet style GI socket as pictured below. Use the included zip ties to secure the new wires back into the existing wire harness. This is important and will keep the wires from moving when you raise or lower your playfield in the future.
You may have to remove black heat shrink tubing from the lugs of the lamp sockets. After your connections are made, use one of the included 2-wire cables to connect the alligator clip cable to the GI connector on the Pinlights controller board.
Finding Flasher connections on Stern machines
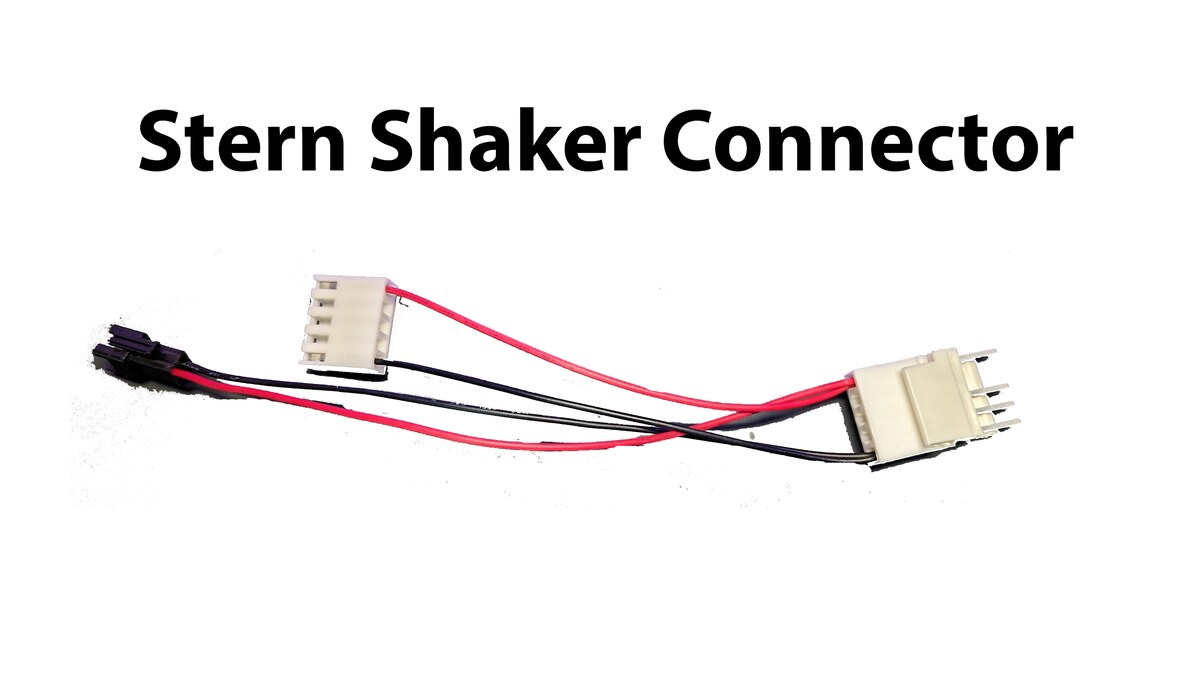
If you selected a Stern game when ordering your kit, we included a Stern shaker connector adapter cable. This connects to CN16 on your cabinet node board where your existing Stern shaker motor is connected, and allows the purple flashers on the Pinlights to trigger when your shaker motor goes off.
Even if you do not have a shaker motor in your game, you can still use this cable — just enable the shaker motor in your game’s options menu. On older Stern games, you can use the alligator clips to hook to a flasher bulb.
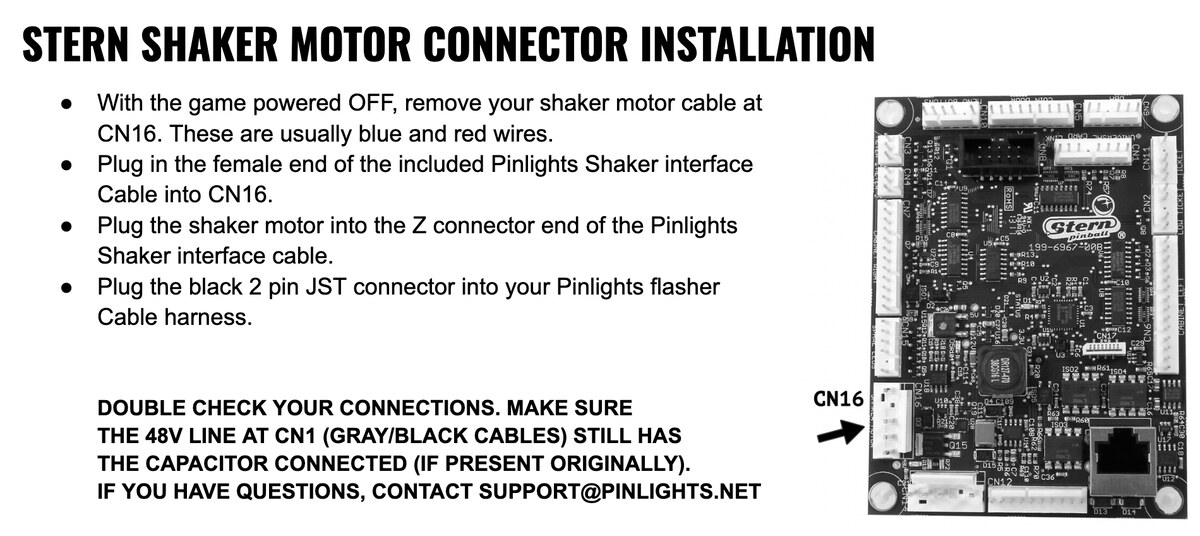
Stern Shaker Motor Connector Installation
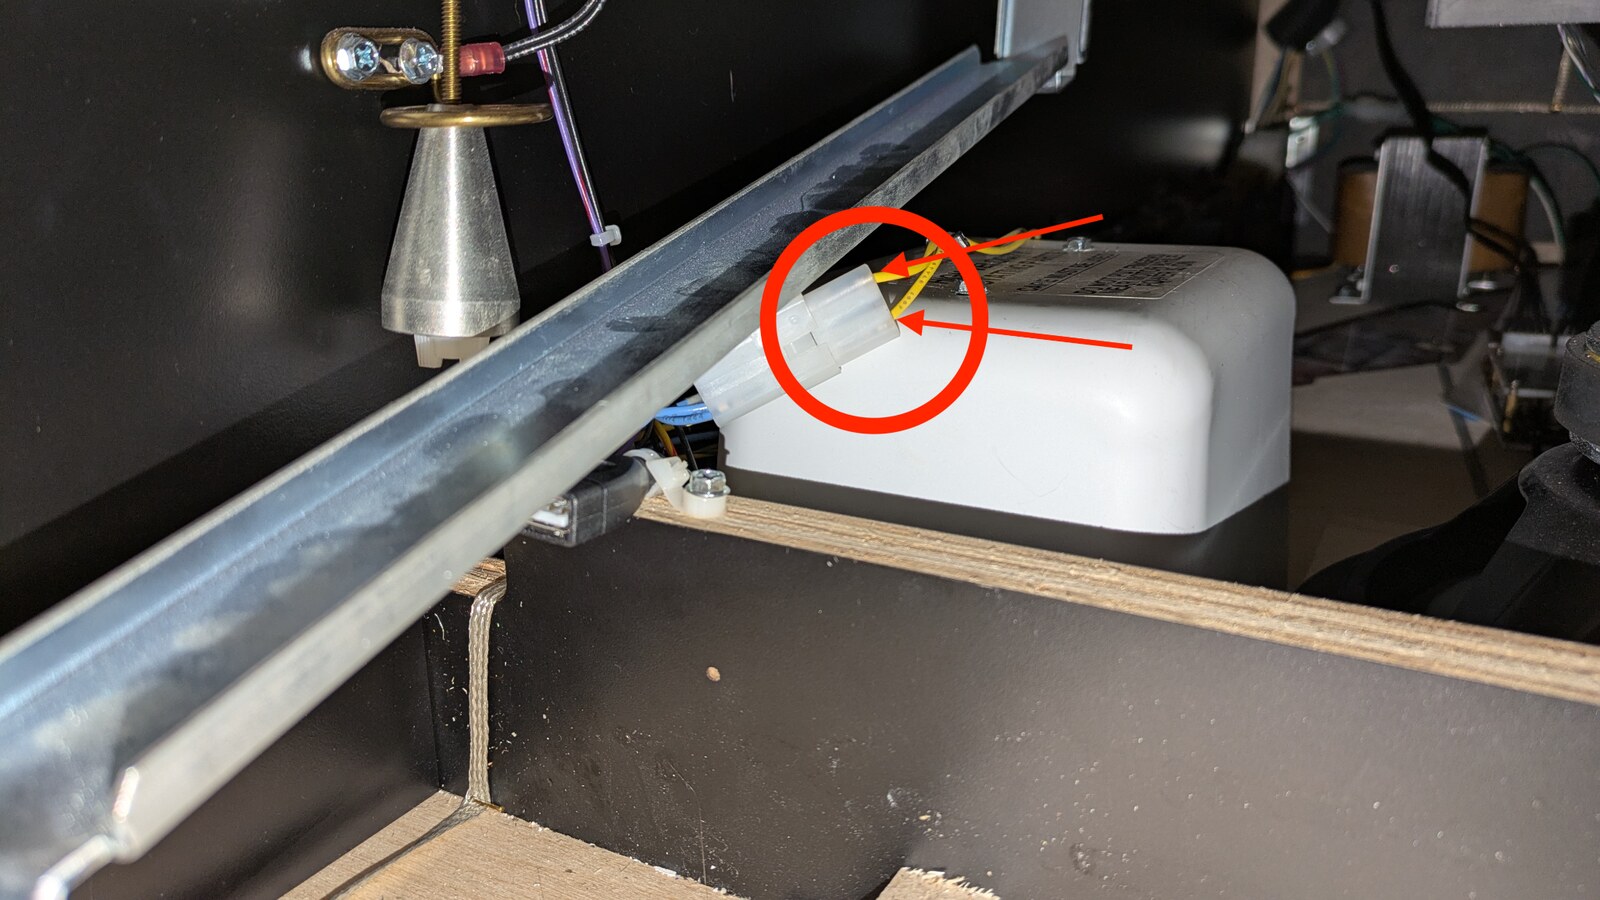
- With the game powered OFF, remove your shaker motor cable at CN16. These are usually blue and red wires.
- Plug in the female end of the included Pinlights Shaker interface cable into CN16.
- Plug the shaker motor into the Z connector end of the Pinlights Shaker interface cable.
- Plug the black 2-pin JST connector into your Pinlights flasher cable harness.
Double check your connections.
Make sure the 48V line at CN1 (gray/black cables) still has the capacitor connected (if present originally). If you have questions, contact [email protected].
If you do not wish to trigger your Pinlights flashers off of the shaker motor, you can clip to any 5V–48V source using the included wire taps and alligator clips, or you can leave the flasher connections out completely. Your Pinlights will work just fine without them.
Finding GI connections on Jersey Jack Pinball games
JJP games tend to feature their own custom lighting system. However, finding connections on these games is as simple as finding a 5V–48V source in the manual. These can be GI bulbs or, in a pinch, the coin door bulbs.
Locate one of the 2 or 4 pin GI bulbs under the playfield — these are the bulbs with lenses that protrude up through the playfield. Use the included wire taps to punch through the back of the connector as shown below. Ziptie all wires back in place so they don’t move when raising or lowering the playfield. Use the alligator clips on the other end to connect back to the GI port on the Pinlights controller board.
If you just want to connect to the coin door to power the GI, use the wire taps to punch through the spade connectors on the coin door bulbs as shown below. You can punch through the back OR the front.
Secure everything back in the harness.
Zip-tie the wire taps and alligator clips back into the wire harness so that nothing disconnects or shorts out when opening or closing the coin door.
Finding Flasher connections on JJP games
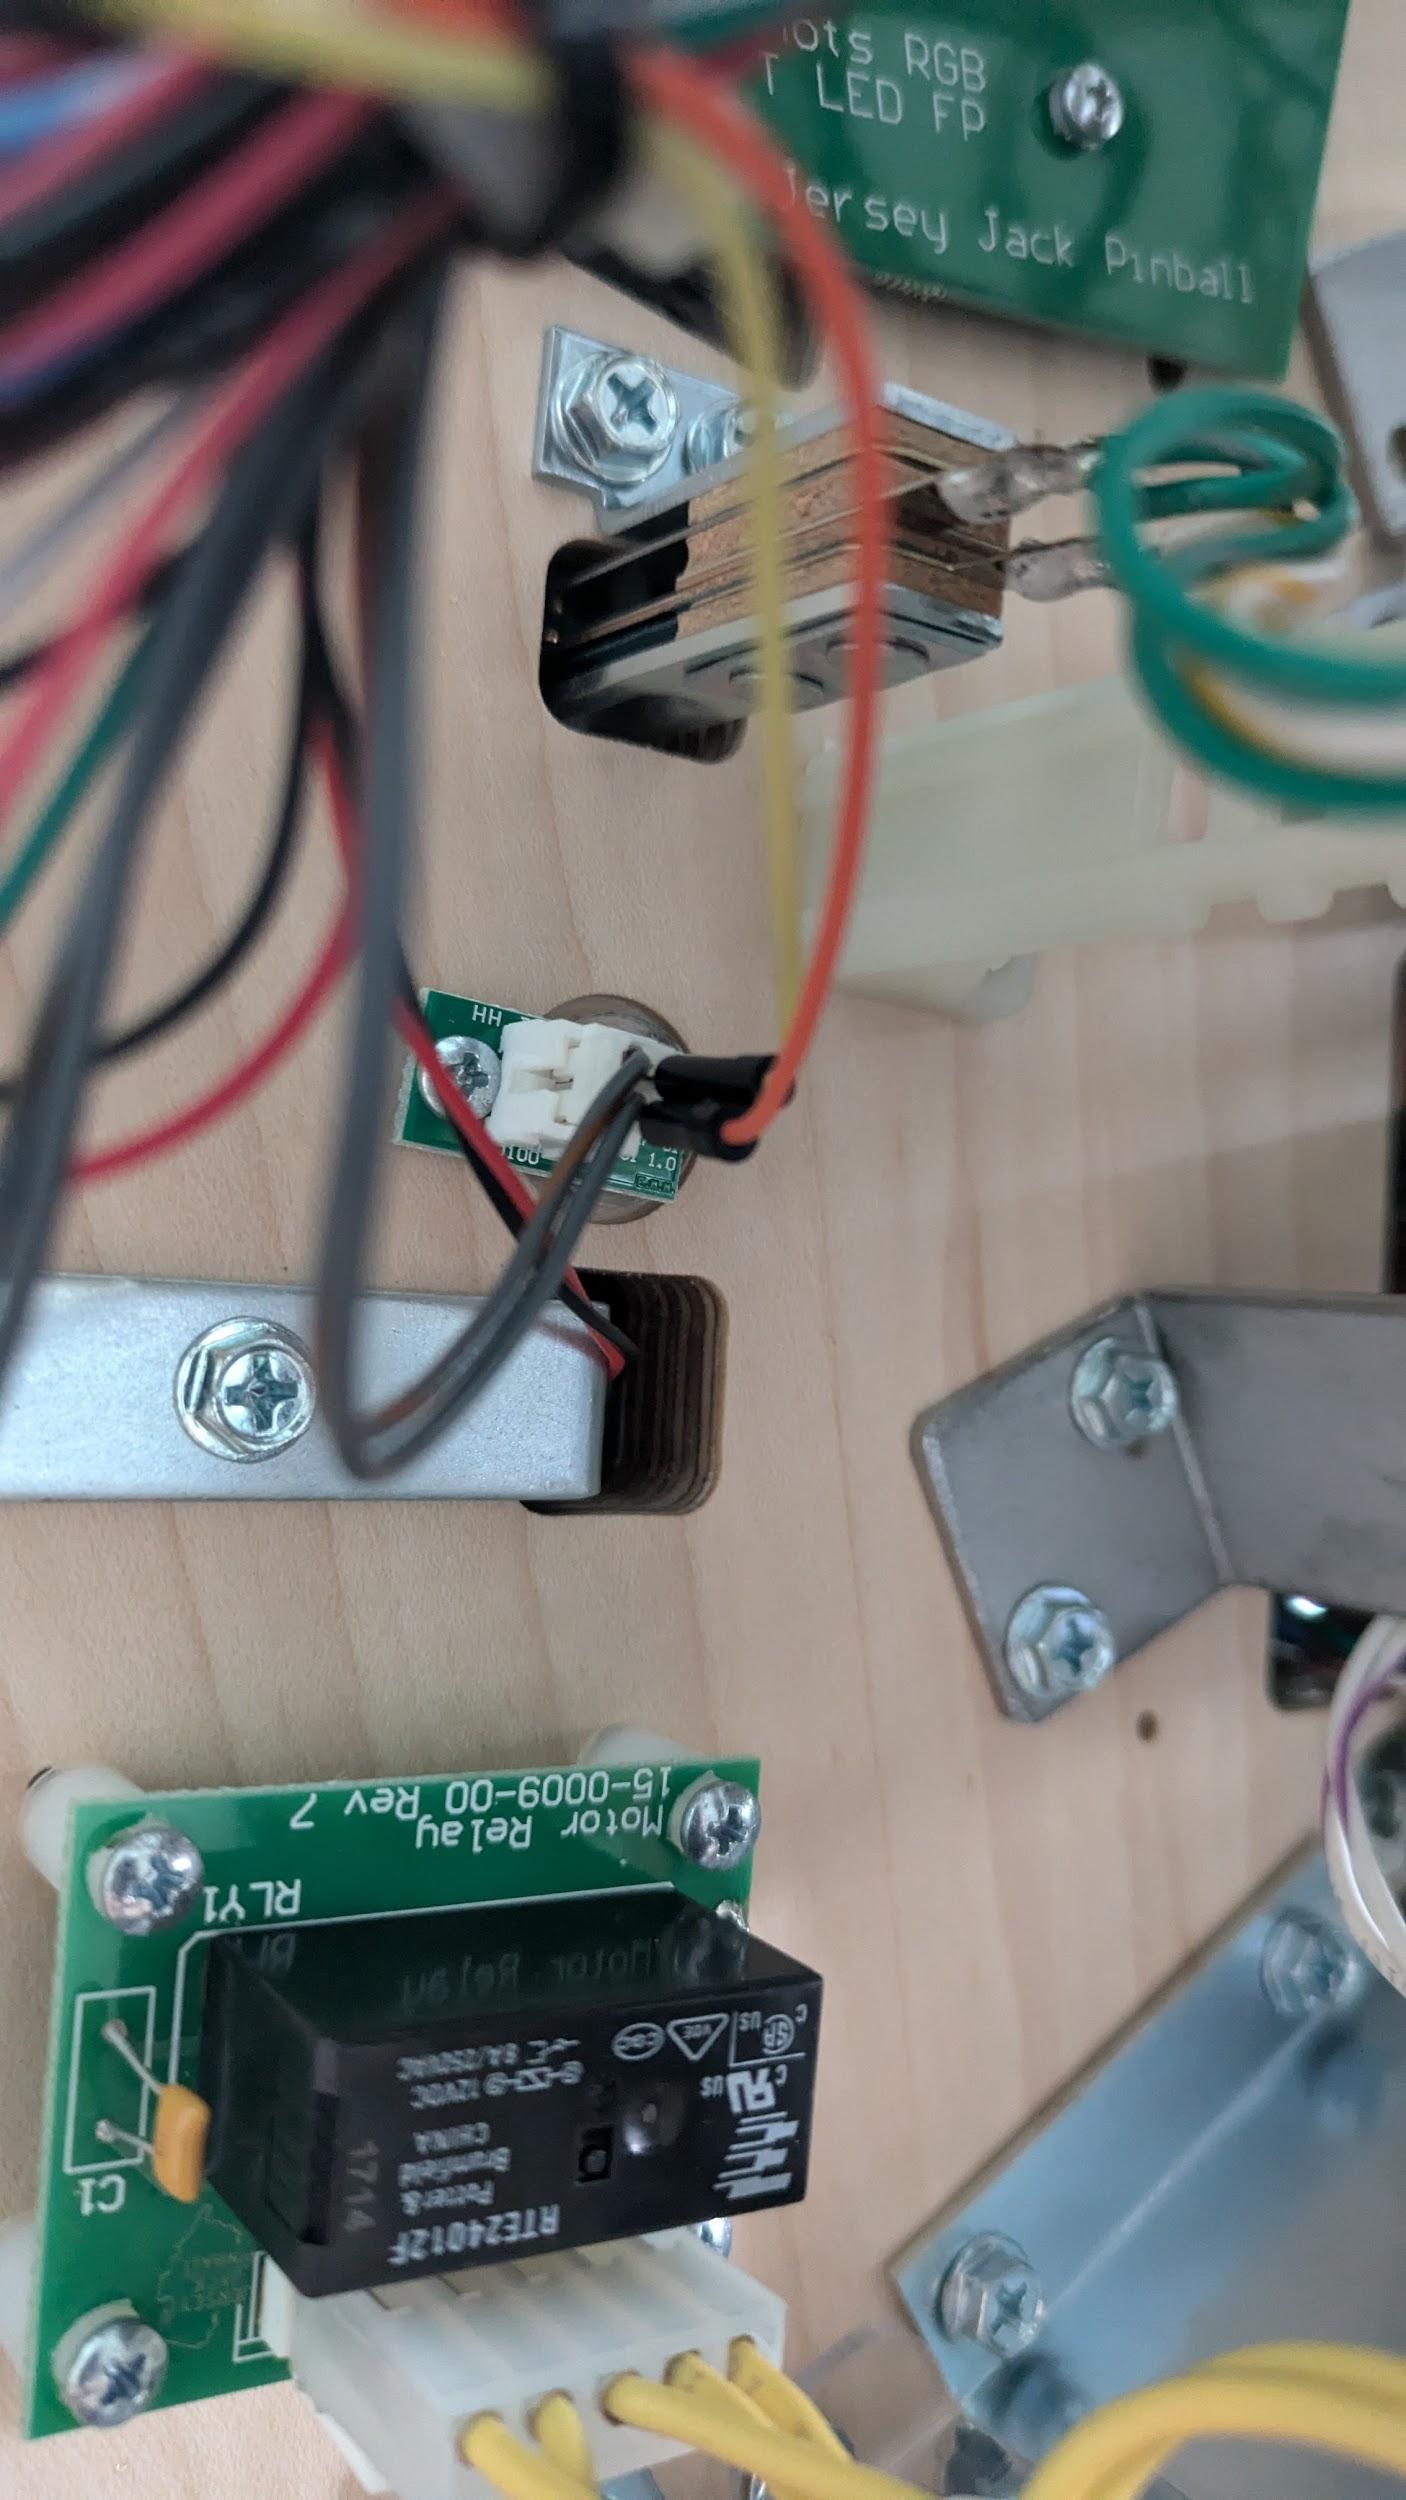
Use the included wire taps to connect through the back of the shaker motor connector in the game cabinet. Then use the alligator clips to connect the other end of the wire taps to the Pinlights controller board at the FL port. Be sure to ziptie any and all connections back into the harness so that they don’t move, short out, or become disconnected.
Any voltage source from 5V–48V is sufficient to trigger the Pinlights flashers if you don’t want to use the shaker (or if one isn’t available).
Questions? Contact [email protected].